
The Complete Guide to 3D Architectural Rendering: From Concept to Final Image

Module render in the forest
If you're in the architecture, real estate, or design world, you know that a picture is worth more than a thousand words—especially when it’s a stunning, photo-realistic 3D render of a project that doesn’t even exist yet. This architectural visualization guide is your complete resource to understanding the 3D architectural rendering process, the technologies behind it, and best practices for achieving remarkable final images.
The 3D Architectural Rendering Process (Step-by-Step)
Let’s walk through the full 3D architectural rendering process, from the initial concept to the polished final image.
1. Creative Brief & Reference Gathering
Every great render begins with a strong foundation. This includes:
Architectural plans, CAD files, or hand sketches
Design references (Pinterest boards, moodboards, photos)
Material and finishes palette
Lighting and landscape context
Desired output (images, animations, panoramas, VR)
At TNT Renders, we work closely with architects and designers to understand their vision, ensuring we stay aligned throughout the rendering pipeline.
2. 3D Modeling the Space
The next step is constructing a virtual model of the building and surrounding environment. Depending on complexity, this may include:
Exterior and interior walls, ceilings, floors, and roofs
Structural elements like columns, beams, and staircases
Furniture, fixtures, landscaping, and even contextual buildings
We often use Revit, SketchUp, Rhino, or 3ds Max for modeling. Accuracy is crucial—realistic renders rely on precise geometry and scale.
3. Materials and Texturing
This is where surfaces come alive. Texturing involves:
Assigning materials like wood, metal, glass, stone
Adjusting reflection, gloss, bump maps, and roughness
Using PBR (Physically Based Rendering) materials for realism
For example, a wood floor isn’t just “brown”—it has a pattern, sheen, grain depth, and responds differently to light. Tools like Quixel Mixer, Substance Painter, and custom texture maps are used to craft this realism.
4. Lighting Setup
Lighting is everything in rendering—it sets the mood and defines the realism. This includes:
Natural Light: Sun position, geographic location, time of day
Artificial Light: Recessed lights, pendants, task lighting
HDRI Environment: Real-world panoramic skies for reflections and ambiance
We simulate lighting as close to photography as possible, using V-Ray, Corona, or Unreal Engine’s tools to balance exposure, shadows, and contrast.
5. Camera Placement & Composition
Just like in photography, the camera tells the story. We consider:
Eye-level perspectives for realism
Wide-angle vs. zoom for different moods
Rule of thirds, symmetry, depth cues
Interior and exterior vantage points
Carefully selected views help clients feel immersed in the space.
6. Rendering the Image
Now comes the technical magic. Here’s how 3D rendering works:
Light rays are simulated bouncing around the scene
Materials interact with light to produce accurate shadows, highlights, and color
Each pixel is computed with sampling algorithms to produce crisp visuals
Engines like V-Ray, Corona Renderer, Lumion, or Enscape are used, depending on project needs. For real-time and interactive renders, Unreal Engine or Twinmotion is ideal.
Rendering can take minutes or hours—depending on resolution, complexity, lighting, and quality settings.
7. Post-Production
This final touch polishes the image, typically using Photoshop or After Effects. We adjust:
Color grading
Contrast, highlights, and white balance
Add people, skies, trees, birds, or cars for realism
Enhance depth of field, glow, or motion blur (especially for animations)
Think of this as the final edit in a professional photo shoot—it elevates a good render to an outstanding one.
Popular Software in 3D Rendering
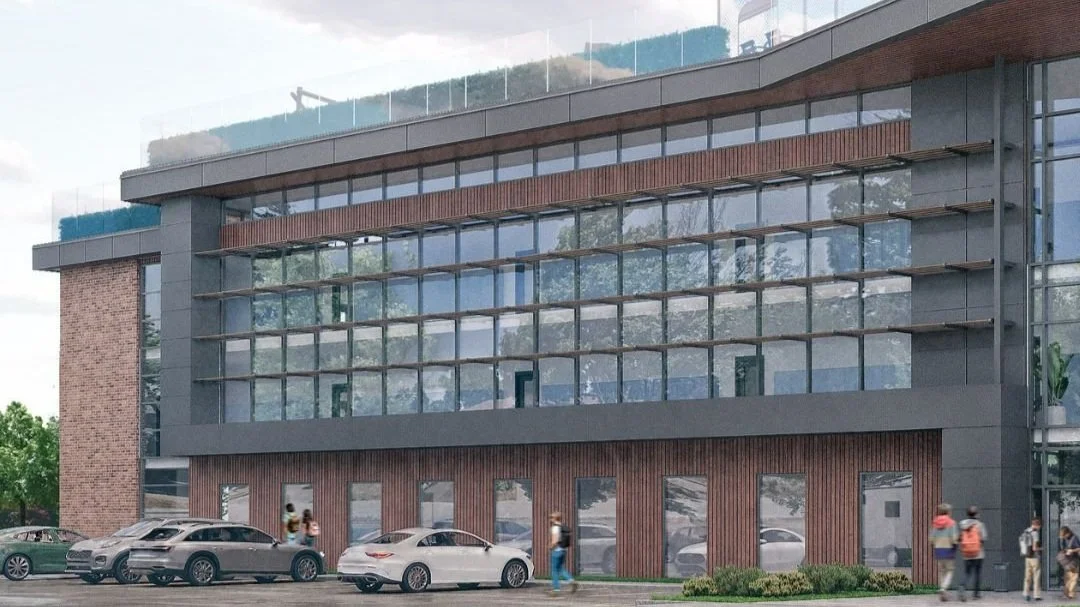
School building 3D render
StageSoftwareModelingSketchUp, Revit, Rhino, 3ds MaxRenderingV-Ray, Corona, Enscape, Twinmotion, LumionTexturingSubstance Painter, Quixel, PhotoshopPost-ProductionPhotoshop, After Effects, Lightroom
Each software has its strengths. At TNT Renders, we select tools based on project complexity, style, and turnaround time.
Industry Best Practices
To create consistently high-quality visuals, follow these architectural visualization best practices:
✔ Model to Real-World Scale
Accurate dimensions help lighting and materials behave correctly and save time down the line.
✔ Use Realistic PBR Materials
High-resolution textures and normal maps add depth. Avoid overly glossy or flat surfaces unless intentional.
✔ Master Lighting Fundamentals
Always test lighting with clay renders before texturing to get the mood right.
✔ Keep Geometry Optimized
Use instancing and proxies for trees, furniture, and repeat objects to reduce render load.
✔ Back Up Your Files
Sounds basic, but in a long rendering pipeline, losing a file can mean losing days.
✔ Communicate Constantly
At TNT Renders, we provide WIP (Work-In-Progress) snapshots at key milestones to gather client feedback and prevent scope drift.
Rendering for Different Outputs
Depending on your goal, rendering needs differ:
Still Images: Perfect for portfolios, websites, brochures
Animations: Great for project walkthroughs and presentations
360° Panoramas: Excellent for real estate listings and VR
Interactive/Real-Time: Used for property configurators or client meetings with Unreal Engine
We help clients choose the right format based on their project needs and timeline.
Challenges in the Rendering Process (and How to Solve Them)
Long Render Times
✅ Use distributed rendering, GPU-based engines, or optimize texturesUnrealistic Results
✅ Calibrate lighting and materials with real-world referencesScope Creep
✅ Set a clear brief, feedback timeline, and round limits earlyMisaligned Expectations
✅ Use white models, drafts, and interim previews before committing to full production
Final Words: From Blueprint to Beauty
Creating a photo-realistic render isn't just a technical exercise—it's a creative journey. From understanding how 3D rendering works to following a professional 3D architectural rendering process, the results speak for themselves: compelling visuals that inform, persuade, and inspire.
At TNT Renders, we’ve made it our mission to turn unbuilt ideas into captivating visual stories. With deep industry knowledge, leading software, and client-focused workflows, we deliver renderings that impress at every stage of a project.
Ready to Start Your Rendering Project?
Let’s bring your vision to life.
📩 Contact us today for a free consultation and project quote.